cooktop-12

Most Common Issues and Solutions Related to Cooktops

Cooktops play a crucial role in our kitchen spaces, but sometimes, we may encounter various issues with them. In this article, we will address the most common problems related to cooktops and how to troubleshoot them effectively.

1. Slow Heating or Failure to Heat: If your cooktops is not heating or the heating process is progressing very slowly, the first step is to check the electrical connections and fuses. If all of these are in working order and the issue persists, it may be necessary to replace the heating elements or sensors.

2. Non-responsive Control Panel: If the buttons on the control panel are not working or not responding, start by checking the electrical connections. If the connections are intact, ensure that the buttons on the control panel are clean. However, if the issue persists, it may be necessary to replace the entire control panel.

3. Sudden Shutdowns: If your cooktop suddenly shuts down while in operation, this is often due to overheating or the activation of a safety sensor. Firstly, ensure that the cooktop is not overheating and that proper ventilation is maintained. If the issue persists, it may be necessary to replace faulty components or consult a professional technician for further assistance.

By addressing these common issues proactively, you can ensure the efficient and reliable performance of your cooktop for years to come. If you encounter persistent problems that you cannot resolve on your own, don’t hesitate to seek professional help to avoid further complications.

DRYER-11

Is your dryer not drying? Here are some possible reasons why.

A dryer is undoubtedly one of the most-used (and most hard-worked) appliances in the home. When it comes to ensuring your essentials are dry for school or work, hanging clothes on a line simply doesn’t compete.

Dryers are convenient and an essential part of domestic life- but they’re also prone to malfunctioning from time to time. Here are some of the most common dryer issues faced on a daily basis by thousands of Americans:

My clothes aren’t fully dry
There is nothing more frustrating than returning to a load of drying, only to find that your clothes are still slightly damp. Overloading the dryer can cause this issue – but if it happens regularly, the problem could lie with the heating element. If there is a fault with the heating element in the dryer, your device will still spin as normal, and the cycle will complete, but your dryer won’t reach the required temperature needed to dry your clothes.

Heating elements have a tendency to wear out over time – but poor ventilation and neglecting to clean the lint screen on a regular basis can accelerate the process.

The drum is spinning but clothes aren’t drying at all
If your dryer is completing a cycle but your clothes remain cold and wet, a blown thermal fuse could be the culprit. Thermal fuses are safety measures used to prevent overheating and are usually located near the exhaust duct of the dryer. If the thermal fuse on your device has blown, the only option is to replace it if you want your appliance to function again.

The dryer drum won’t spin
When starting a cycle, the drum should begin to spin. If you can hear the dryer motor humming but the drum remains stationary, this could mean that the belt on your dryer has worn out. Dryer belts have a tendency to wear out over time. If the belt appears to be fine, there may be motor or idler pulley issues with your appliance. Your local dryer engineer will be able to test your device to establish exactly what is wrong.

If you are based in Louisiana and are currently experiencing dryer issues, simply contact Professional Appliance Repair today. With over 70 years of combined experience in the industry, we’re a name you can trust.

microwave-1

How to Repair a Microwave: A Comprehensive Guide

How to Repair a Microwave: A Comprehensive Guide

Microwaves have become essential kitchen appliances, making meal preparation quicker and more convenient. However, like any other electronic device, they can encounter issues over time. Before you consider replacing your microwave, why not try repairing it yourself? This guide will walk you through common microwave problems and provide step-by-step instructions on how to troubleshoot and repair them.

Understanding the Basics

Before diving into microwave repairs, it’s crucial to grasp the basics of how they operate and the potential risks involved. Microwaves work by emitting electromagnetic radiation at a frequency that excites water molecules in food, causing them to heat up. However, this radiation can be dangerous if mishandled, so safety precautions are paramount.

Safety Precautions

  1. Unplug the Microwave: Before starting any repairs, unplug the microwave from the power source to avoid electric shock.
  2. Wear Protective Gear: Put on rubber gloves and safety goggles to protect yourself from electrical hazards and sharp edges.
  3. Work in a Well-Ventilated Area: Some microwave components may emit harmful fumes when heated. Working in a well-ventilated space can prevent inhalation.

Common Microwave Problems and Solutions

1. Microwave Not Turning On

Possible Causes:

  • Faulty Power Cord
  • Blown Fuse
  • Defective Door Switch

Solution:

  1. Check the Power Cord: Inspect the power cord for any visible damage. Replace it if damaged.
  2. Inspect the Fuse: Open the microwave’s outer cover (after unplugging it) and locate the fuse. Replace it if blown.
  3. Test the Door Switch: Use a multimeter to check the continuity of the door switches. Replace any faulty switches.

2. Microwave Not Heating

Possible Causes:

  • Malfunctioning Magnetron
  • Burnt-out Diode
  • Defective Capacitor

Solution:

  1. Test the Magnetron: Use a multimeter to check the continuity of the magnetron. Replace it if faulty.
  2. Inspect the Diode: Test the diode for continuity. Replace it if burnt-out.
  3. Check the Capacitor: Test the capacitor for continuity. Replace it if defective.

3. Sparks or Arcing Inside the Microwave

Possible Causes:

  • Metal Objects Inside the Microwave
  • Damaged Waveguide Cover
  • Faulty Stirrer Fan

Solution:

  1. Remove Metal Objects: Take out any metal utensils or objects from the microwave to prevent sparks.
  2. Inspect the Waveguide Cover: Check for damage or burning on the waveguide cover. Replace if necessary.
  3. Test the Stirrer Fan: Ensure the stirrer fan is functioning correctly. Replace if not.

Conclusion

Repairing a microwave may seem daunting, but with the right knowledge and precautions, it’s entirely feasible to troubleshoot and fix common issues. Always prioritize safety, and if you’re unsure about a repair, seek professional assistance. By taking care of your microwave and addressing problems promptly, you can extend its lifespan and continue to enjoy its convenience for years to come.

HDW2401SS-thor-kitchen-dishwasher-kitchen5-scaled-1

How to clean your dishwasher

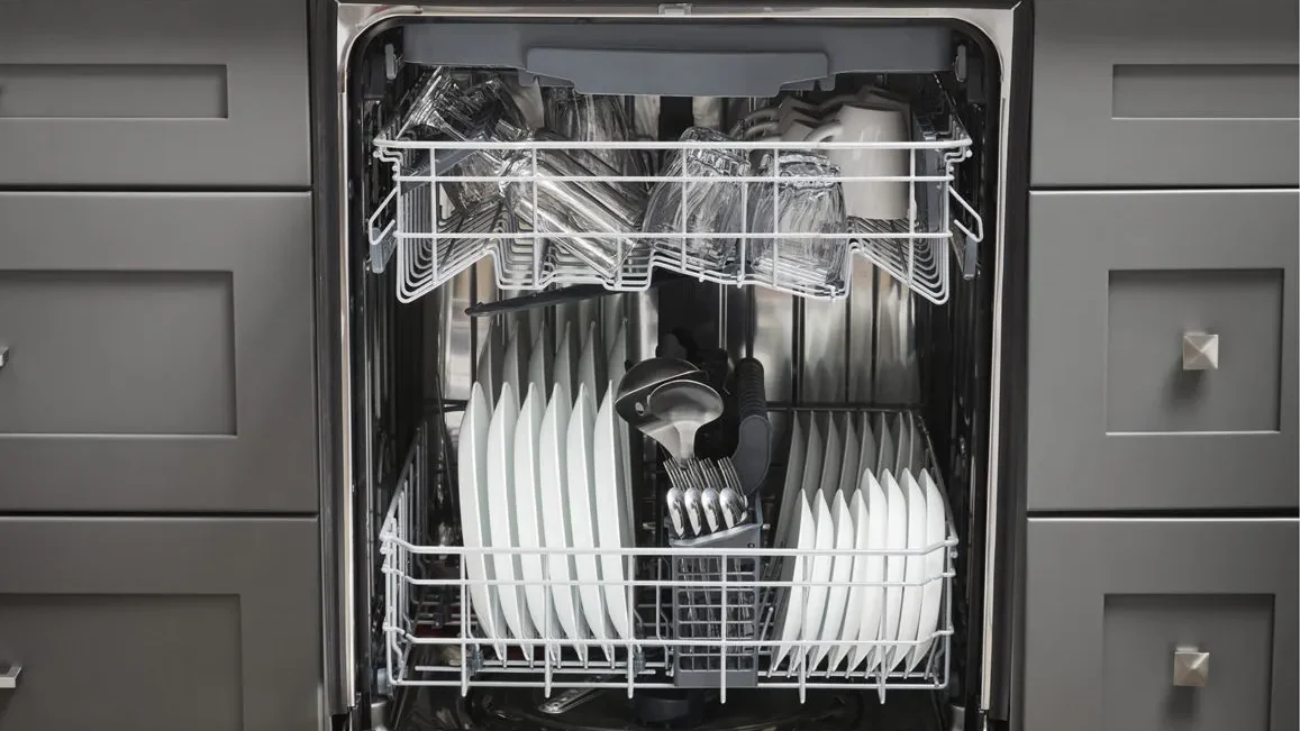
Cleaning your dishwasher might seem counterintuitive—after all, it’s a machine designed to clean dishes. However, regular maintenance and cleaning are essential to ensure that your dishwasher operates efficiently and effectively over time. In this comprehensive guide, we’ll walk you through the steps to clean your dishwasher thoroughly, helping you maintain sparkling dishes and prolong the lifespan of your appliance.

1. Gather Your Supplies:

Before you begin, gather the necessary supplies:

  • White vinegar
  • Baking soda
  • Dish soap
  • Soft brush or toothbrush
  • Microfiber cloth
  • Toothpicks or a small brush
  • Optional: dishwasher cleaner or descaler

2. Clean the Exterior:

Start by cleaning the exterior of the dishwasher:

  • Wipe down the door, control panel, and handle with a damp microfiber cloth.
  • Use a mild dish soap solution to remove any stubborn stains or grease buildup.
  • Pay attention to crevices and corners where dirt and grime can accumulate.

3. Remove and Clean the Filter:

Next, remove the dishwasher’s filter and clean it:

  • Consult your dishwasher’s manual for instructions on locating and removing the filter.
  • Rinse the filter under running water to remove food particles and debris.
  • Use a soft brush or toothbrush to scrub away any stubborn residue.
  • Ensure the filter is completely dry before reinstalling it in the dishwasher.

4. Clean the Spray Arms:

Check the spray arms for clogs and debris:

  • Remove the lower and upper spray arms according to your dishwasher’s manual.
  • Inspect the spray arm holes for any obstructions, such as food particles or mineral deposits.
  • Use toothpicks or a small brush to dislodge any debris from the spray arm holes.
  • Soak the spray arms in a solution of white vinegar and water to remove mineral buildup.

5. Descale the Interior:

To remove mineral deposits and limescale from the interior of the dishwasher:

  • Place a dishwasher-safe bowl filled with white vinegar on the top rack of the dishwasher.
  • Run a hot water cycle on the highest temperature setting without any dishes.
  • The vinegar will help break down and dissolve mineral deposits, leaving the interior clean and odor-free.

6. Deodorize with Baking Soda:

To eliminate odors and freshen the dishwasher:

  • Sprinkle a cup of baking soda on the bottom of the dishwasher.
  • Run a short, hot water cycle to distribute the baking soda and neutralize odors.
  • Baking soda is a natural deodorizer that effectively removes unpleasant smells from the dishwasher.

7. Optional: Use a Dishwasher Cleaner:

If your dishwasher requires a deeper clean, consider using a commercial dishwasher cleaner or descaler:

  • Follow the manufacturer’s instructions for the appropriate amount of cleaner to use.
  • Run a hot water cycle with the dishwasher cleaner to dissolve tough stains and buildup.
  • This step can help restore your dishwasher’s performance and efficiency.

8. Regular Maintenance Tips:

To keep your dishwasher clean and well-maintained in the long run:

  • Scrape food scraps off dishes before loading them into the dishwasher to prevent clogs and buildup.
  • Run hot water in the sink before starting the dishwasher to ensure the water entering the dishwasher is hot enough.
  • Avoid overloading the dishwasher, as this can prevent water and detergent from reaching all dishes effectively.

Conclusion:

Cleaning your dishwasher is an essential part of appliance maintenance that can help ensure its optimal performance and longevity. By following these step-by-step instructions and incorporating regular cleaning into your household routine, you can keep your dishwasher running smoothly and enjoy sparkling clean dishes with every cycle. Remember to consult your dishwasher’s manual for specific instructions and recommendations tailored to your appliance model.